
Loving GitHub Pages
I’m writing this update on my phone at the airport, the beauty of GitHub is that it is available everywhere. To post or edit now I don’t need to be at my computer.
Since this is all code, all I needed to do was log into GitHub create a new file and start writing. One hesitation of many I had with starting a blog was that I wouldn’t keep it updated and that would reflect badly on me, but with the availability of GitHub I’ll have no excuses.
Ok lets get down to some automation content. Over however many posts it takes I want to do a deeper dive on how I can control things within my house by voice. I can turn on/off a few lights, turn on/off the TV and of course open and close the blinds.
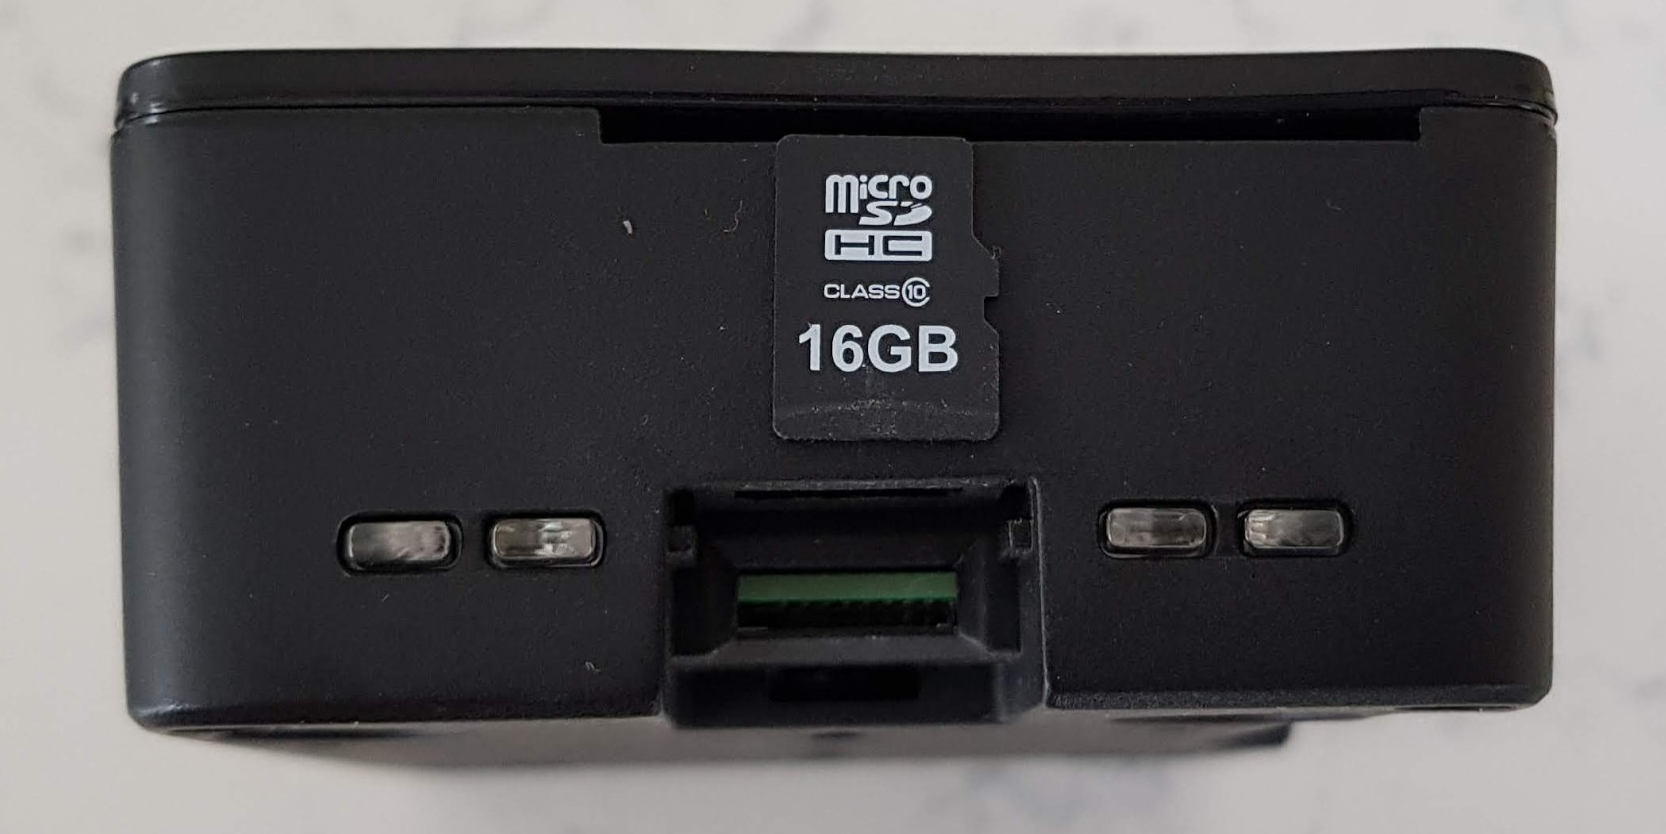
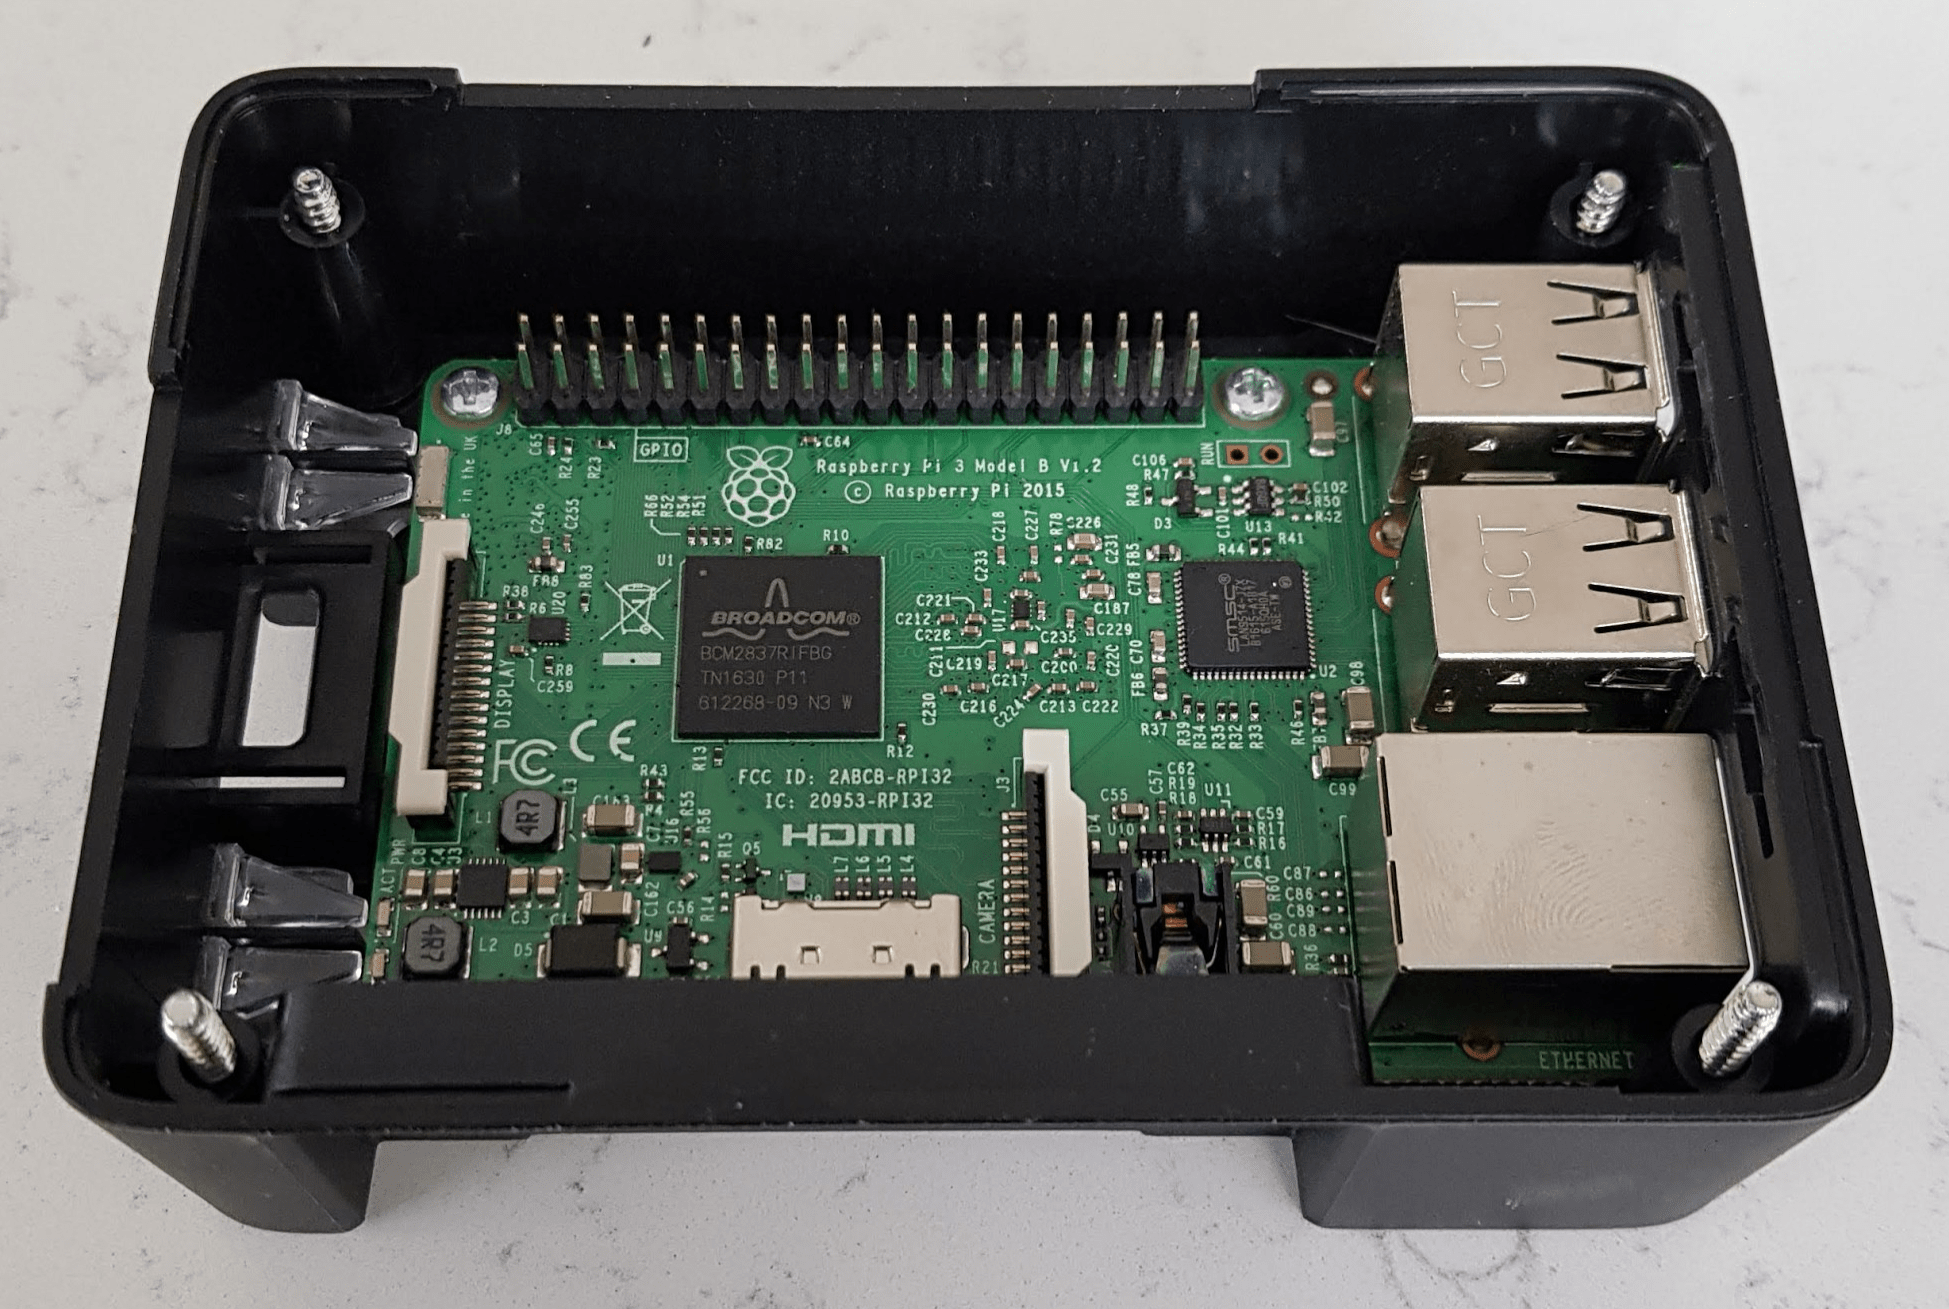
I consider my setup DIY, the bits and pieces I’ve hobbled together are not kits. The central platform that really brings it all together is an opensource project called Home Assistant, a friend of mine Ryan introduced me to it. It runs on a Raspberry Pi and they’ve created a custom image that I flashed onto an SD card.
You can find the installation instructions here.
I have the following add-ons:
Ok so why, DuckDNS gives a free DNS name for my changing Public IP address. This DNS supports HTTPS via Let’s Encrypt and can then be pointed to for Google Assistant to pair with my Google Home device in my house. I was about to preview a long in depth post for how I connected my Google Home but looking at the current help pages it seems Home Assistant has made it even easier for everyone to connect your home assistants using Home Assistant Cloud. I’ll have to try this out and report back.
Google Assistant component is the way that you let Google Assistant (the thing parsing your voice) about things in your Home Assistant setup. It is how it knows whose kitchen light you want to turn on etc.
Samba, which right now isn’t working for me, is how I get access to the configuration files for Home Assistant from my laptop. Most of the files you need to edit are YAML.
Let’s Encrypt is as mentioned above how I get HTTPS for the end points of my Raspberry Pi that is exposed to the internet. I read a post by someone once who didn’t properly secure his setup and one day got a call from his neighbour because his house was playing loud music, but he wasn’t home. If I can find the post I’ll link to it.
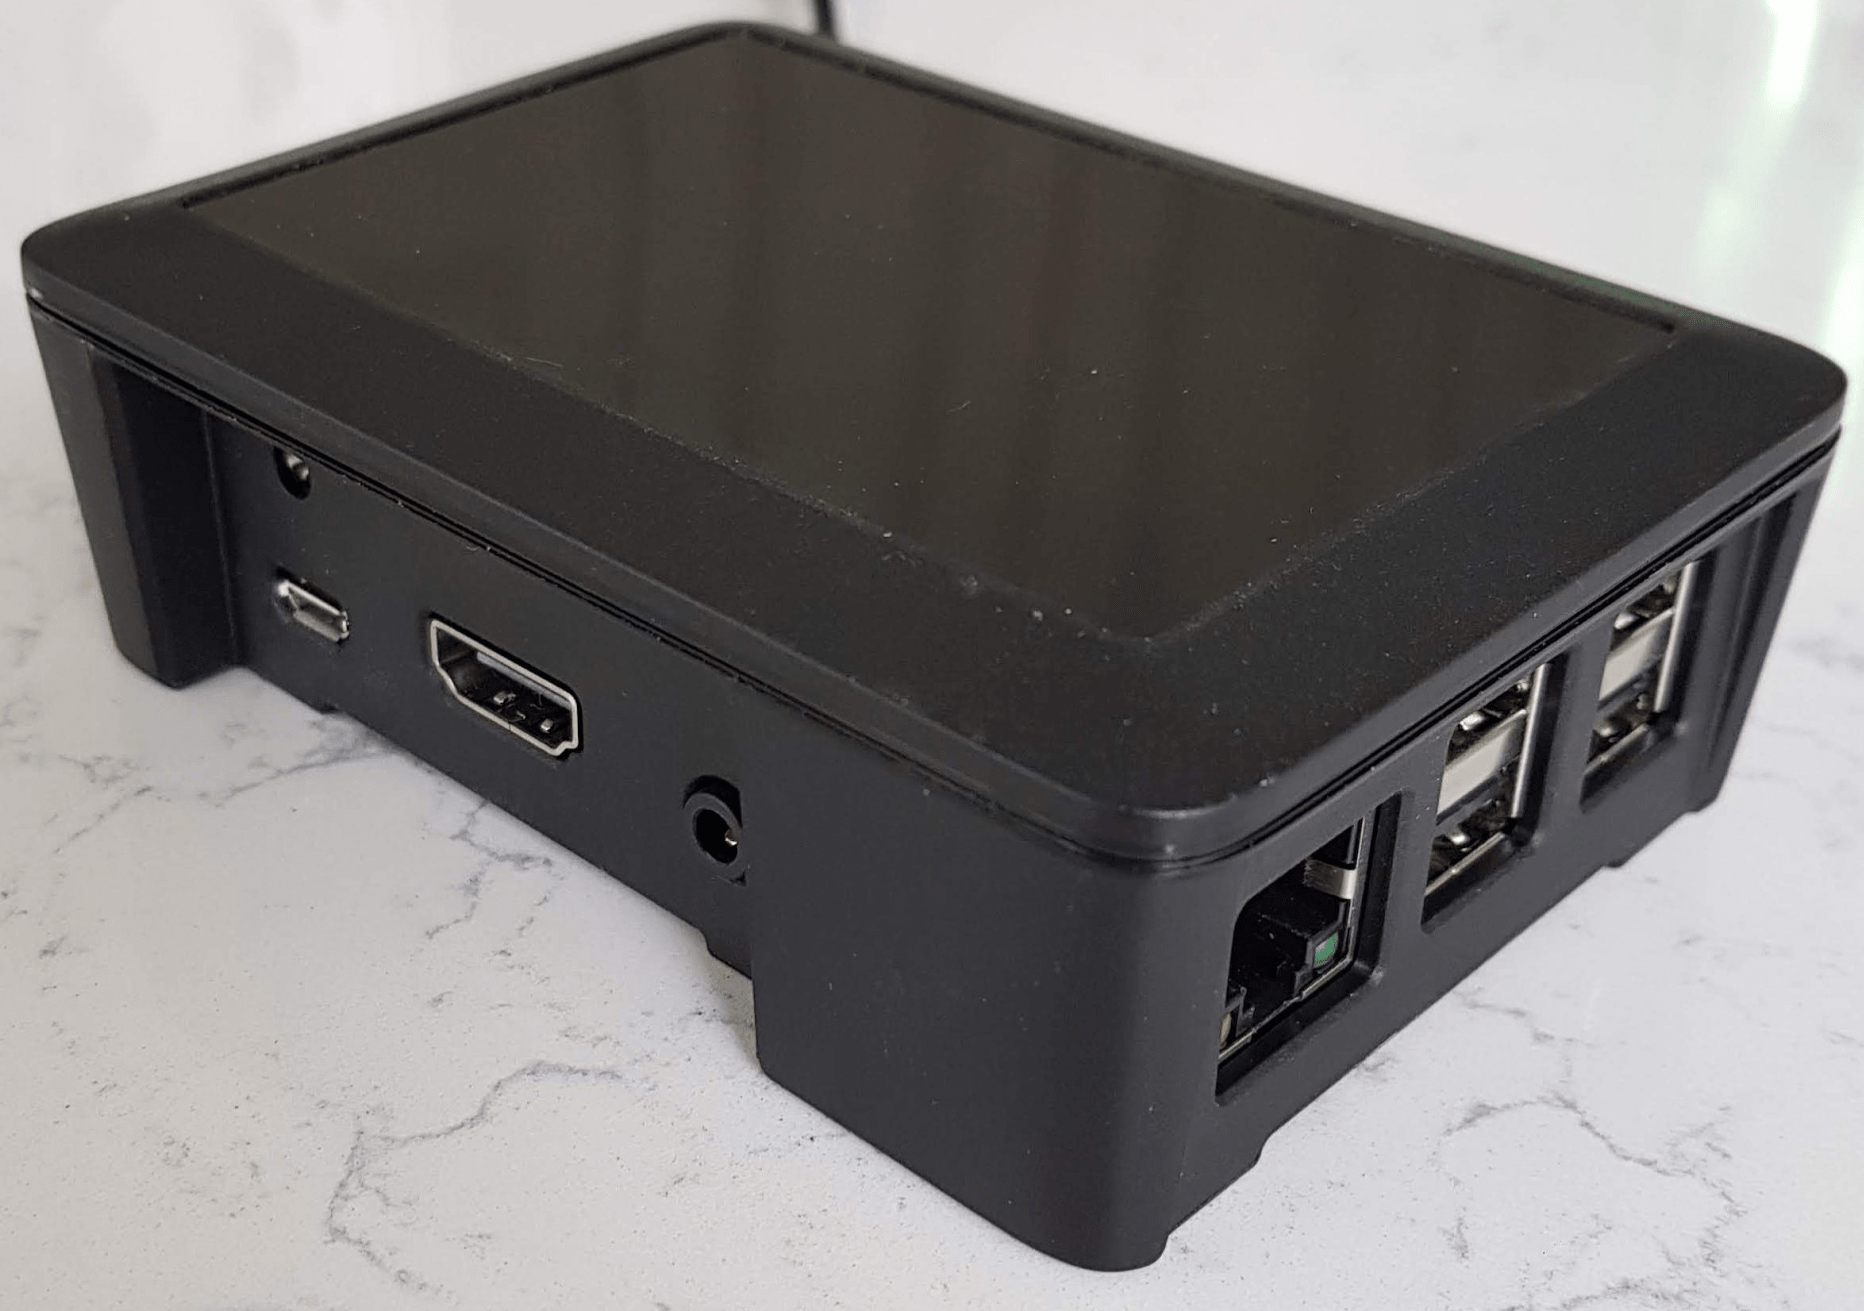
My Raspberry Pi sits in a cupboard with only power and ethernet connected to it. There is no need for a video connection unless you are troubleshooting something, even for that I’ve rarely needed more than off and on again a few times.
So that is the start to my deep dive, there is lots more to come.
Jeykll-blog GitHub-Pages