
Day 3: Azure Pipelines Project
Day 3, ok so I must confess I have been away from this project longer than I expected, but to be fair I have my current class loads as an excuse. Right now, I’m opting to do this rather than read another journal article on the state of the art in serverless. For those who care “Cloud Programming Simplified: A Berkeley View on Serverless Computing” was really good, hot off the presses released last month.
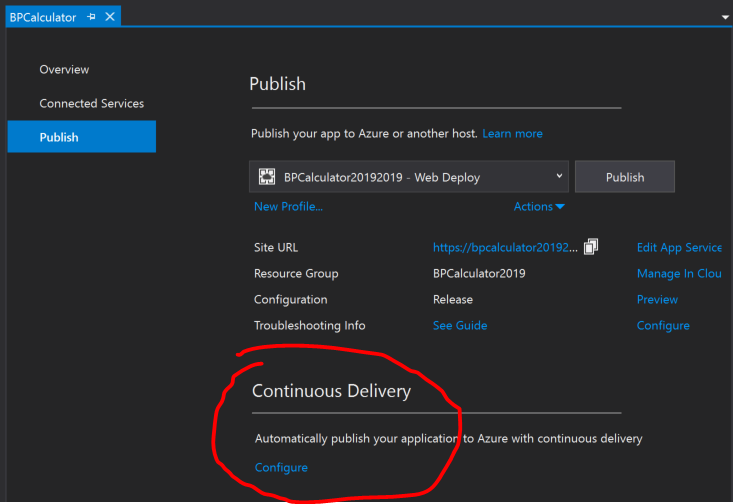
When I finished last time we had just published the app to Azure’s free tier hosting. The code is still a mess, the links to the app do not work, but we published it in no time and at no cost. Today I want to bring pipelines into the project, Azure DevOps as it is now called. We will pick from where we finished last time. In our project in Visual Studio Community edition and literally on the same panel where we published the application to Azure is the link to configure Continuous Delivery (or at least get us started).
I’ll be using a GitHub repository this time, so it is new to me this time around and so is this warning message. Not a big deal it turns out, Visual Studio needs a token to connect to GitHub APIs.

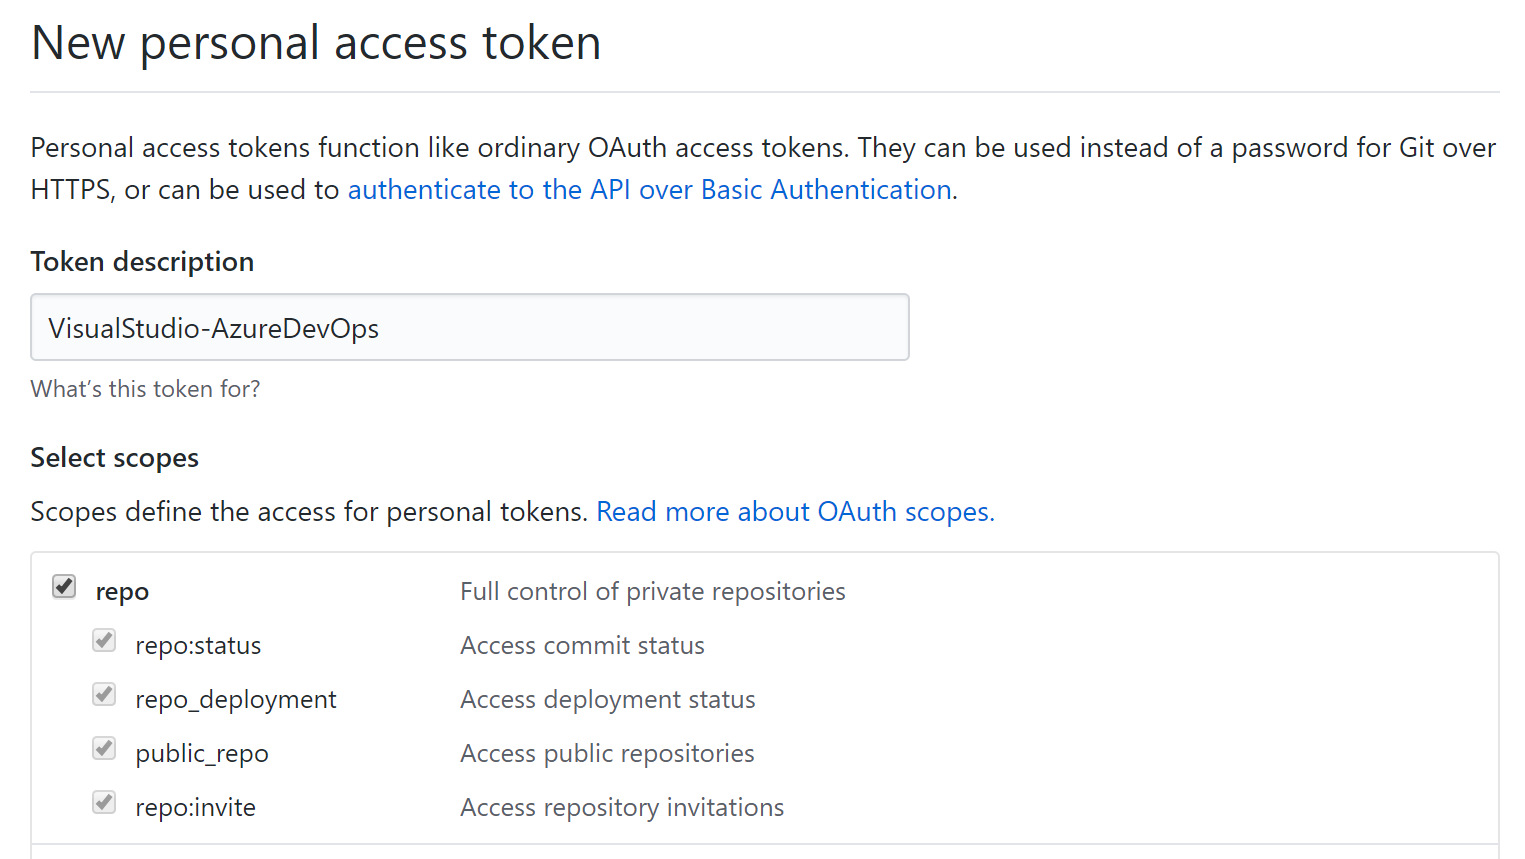
Click the blue link in the error message and it takes you to your GitHub account. There click “Generate new token” and as instructed by the message in Visual Studio, grant this token “repo” and “notification” scopes.

Oh well gotta stop here – running into an account issue, possibly related to replacing my CC recently.
So I can not figure out what is preventing me from connecting VS Studio to Azure DevOps directly, it might work for you. Anyway there is always more than one way to get the job done, so I’ll head over to Azure DevOps directly and set it up there.
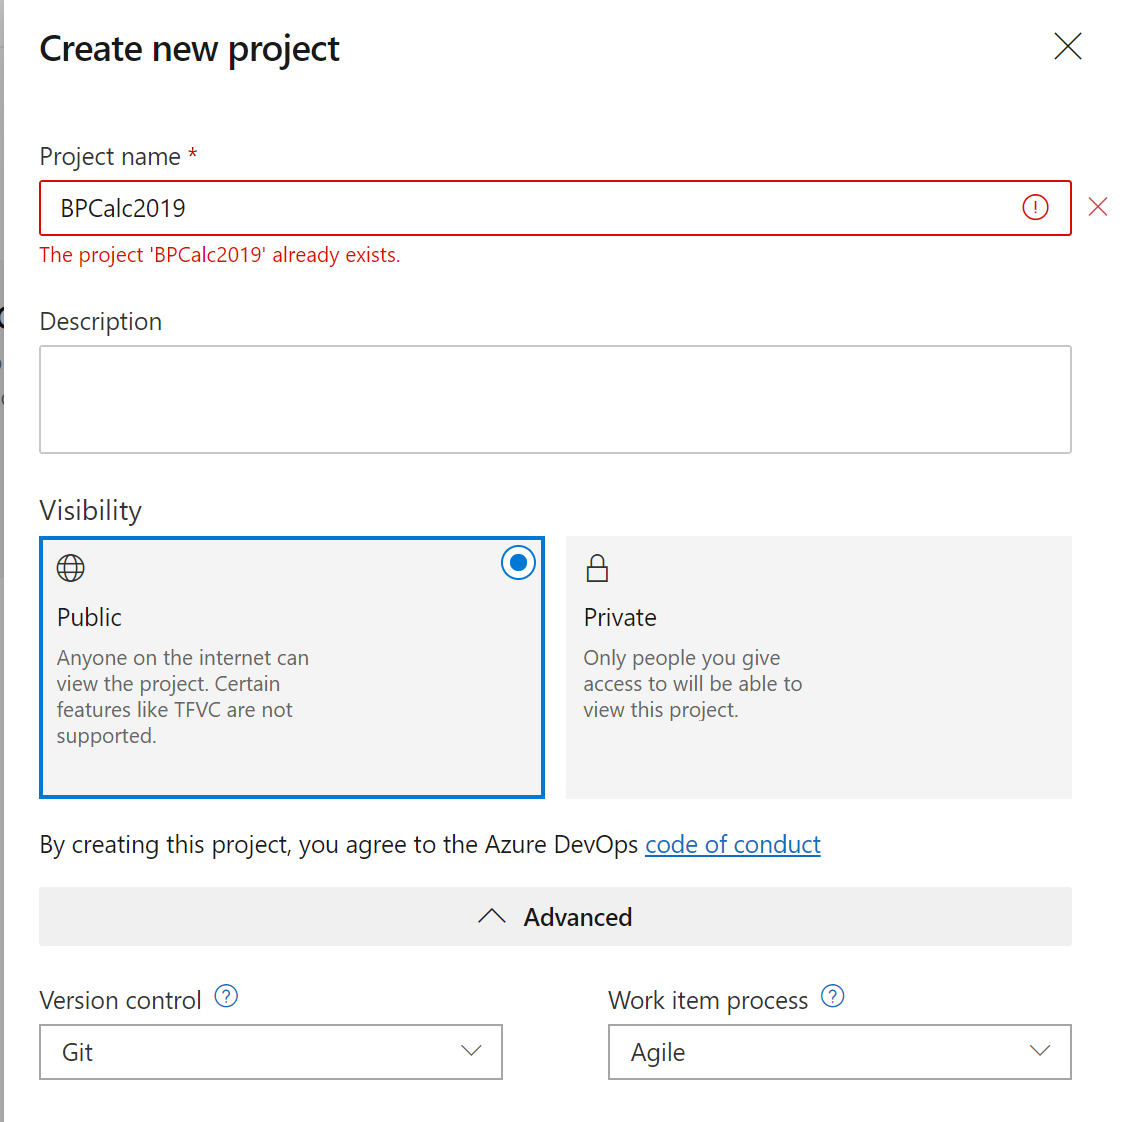
Once signed up and logged in, I’ll leave that up to you to figure out for yourselves, click create a new project. Name it, i’m setting mine to Public so you can check it out if interested, I’ll link to it once I know what that looks like.
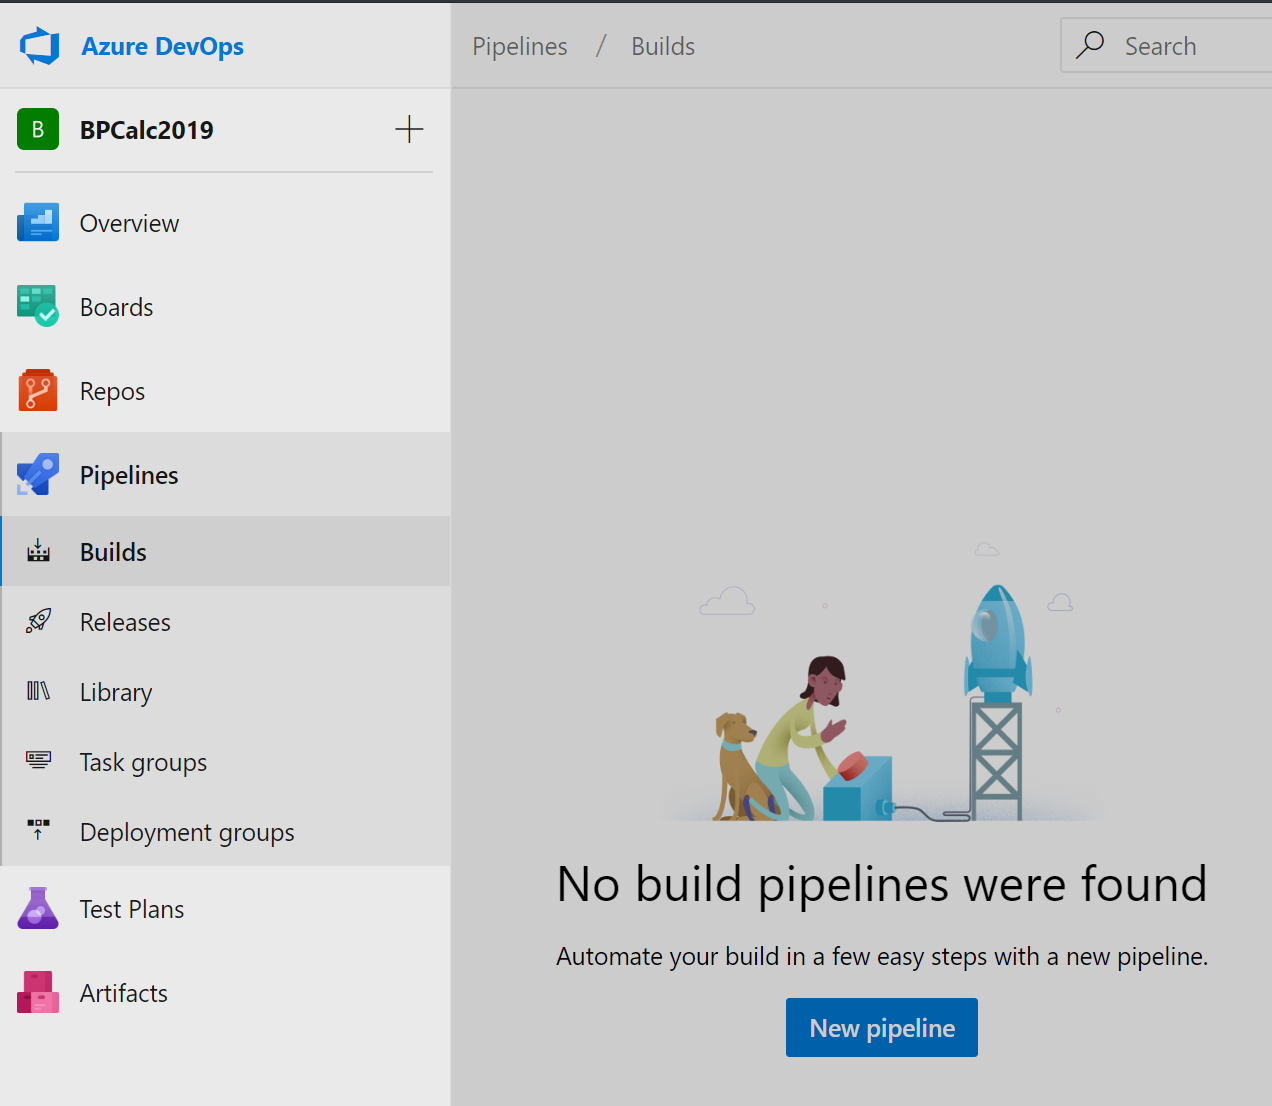
From the pop out panel on the left side of the screen expand Pipelines and select Builds and New pipeline.
For a more visual walk through I’ll select the Classic Editor, its hidden away there at the bottom, they will likely deprecate it, but it’ll be easier to follow as you learn how things are hung together in Azure DevOps.

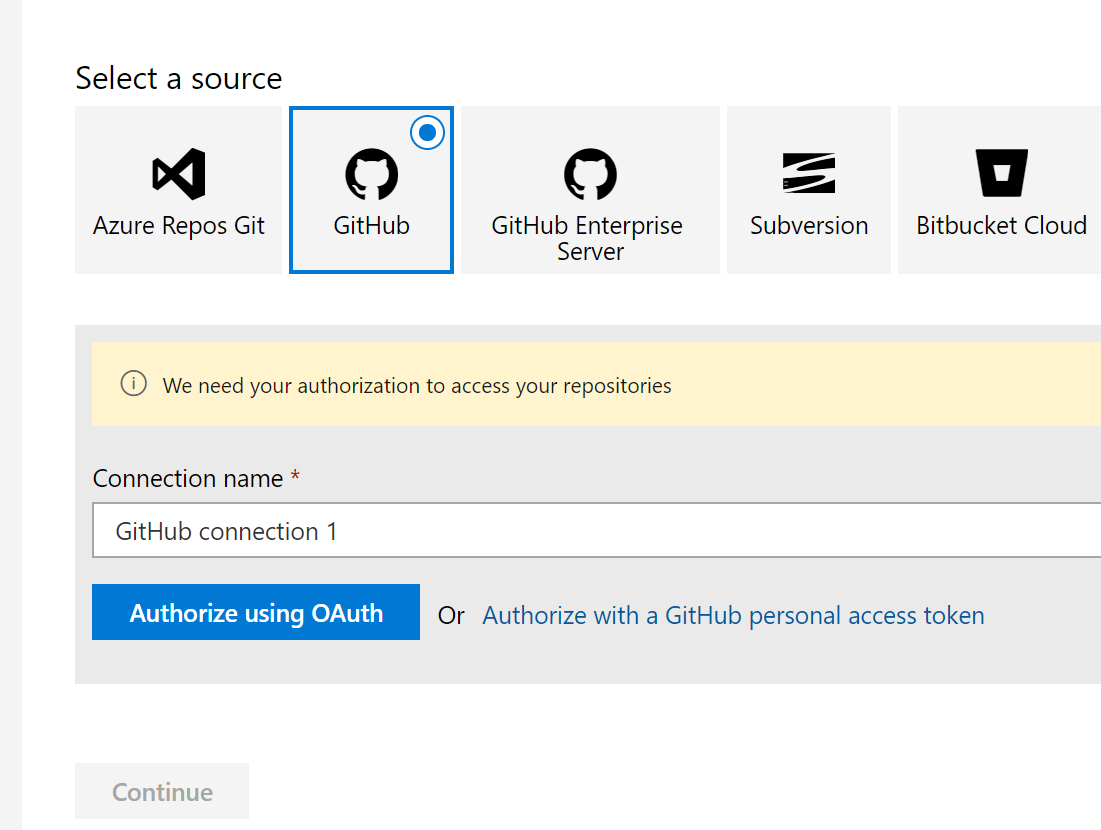
Once you select GitHub as you source you will be prompted to authenticate, similarly to how I tried above in Visual Studio, it will even accept the same PAT, but also OAuth. I still have my PAT handy so I’m going with that option.
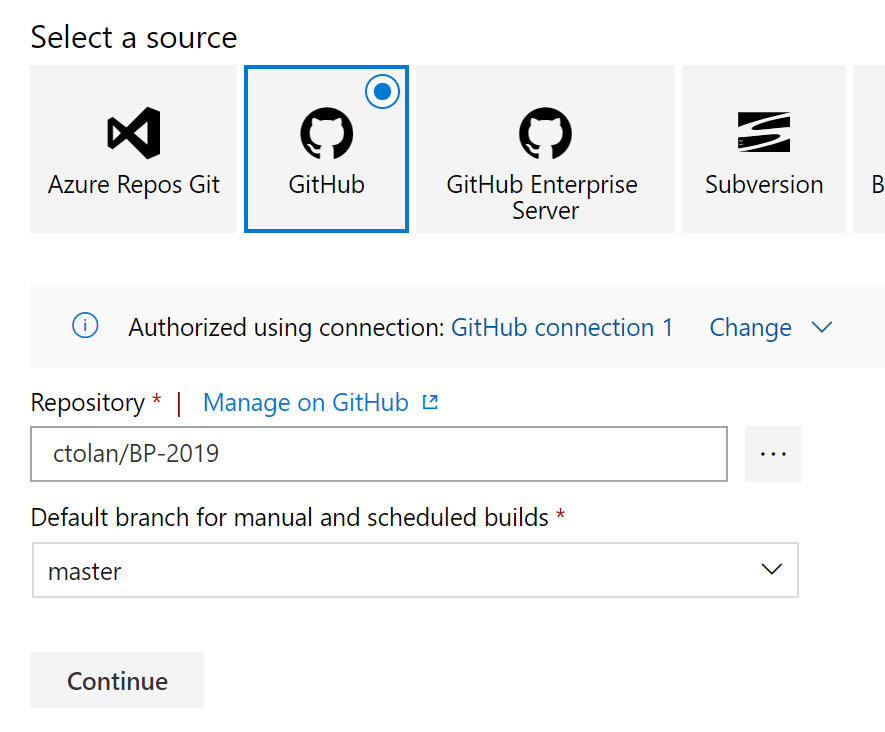
Next select your Repo and branch.
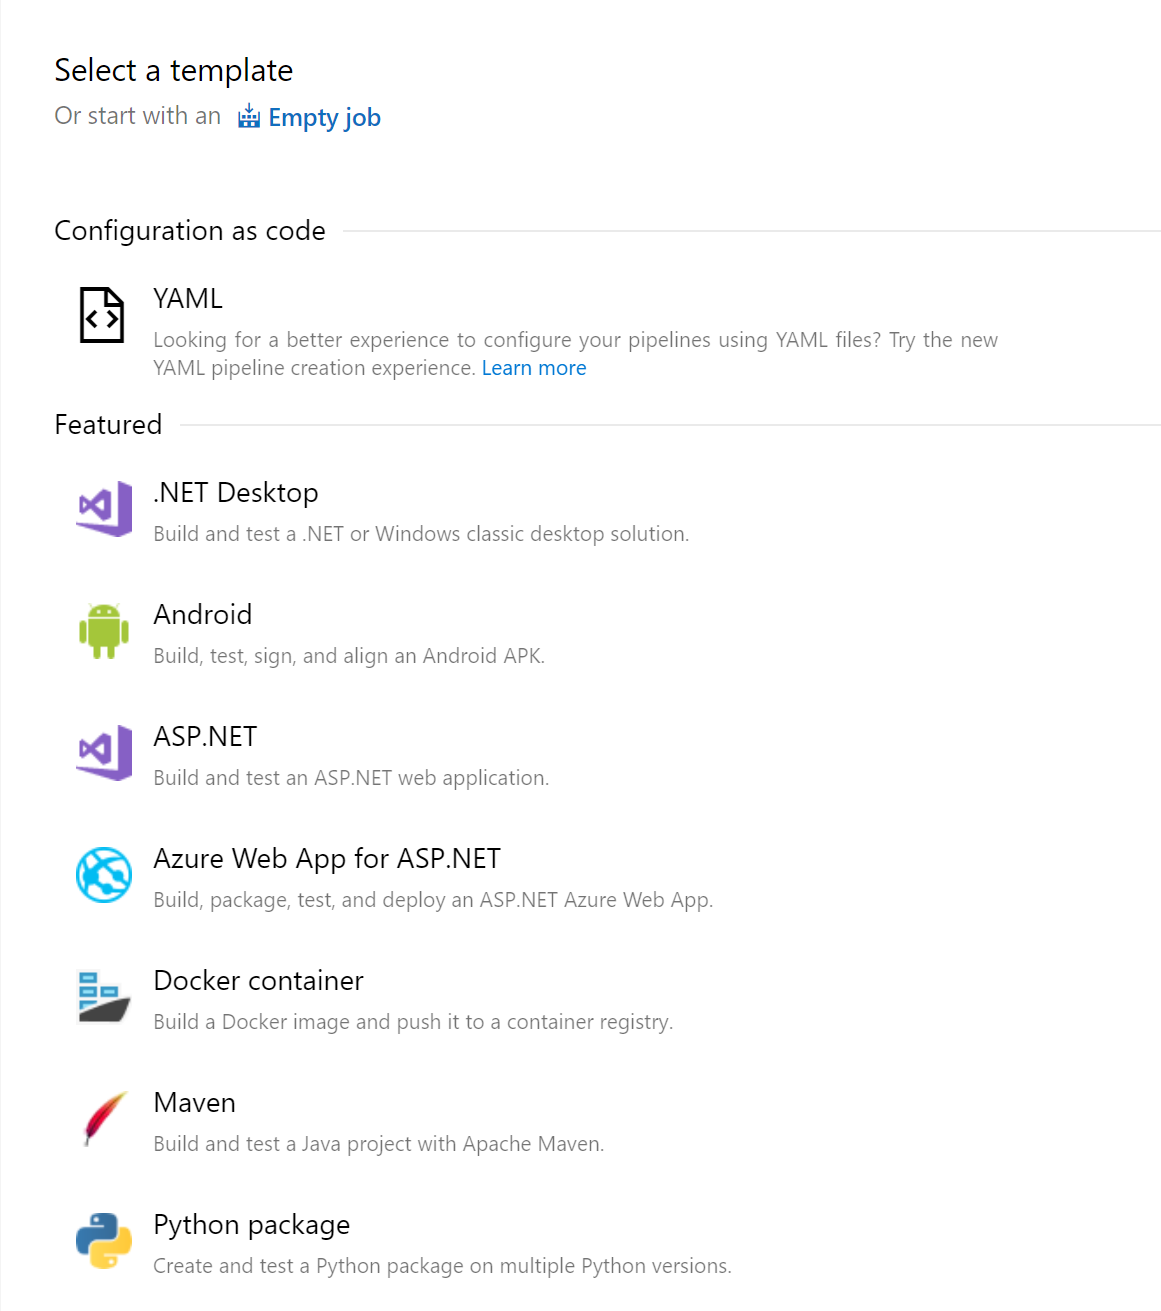
Next up we will select the Azure Web App for ASP.NET template from the list, this is the right choice for this App but only because it is a ASP Razon Pages app in .NET. If you are following this walk through for a different App then you should choose appropriately. The good thing is that it is easy to create many pipelines while you figure out what works best, you will likely try templates but in the end build from scratch with the blank job options right at the top. This is because behind it all are the same tasks, but templates prompt you for information that it’ll then populate in the appropriate places for you.
My template comes with some tasks to get me started and is asking for me to supply some information.
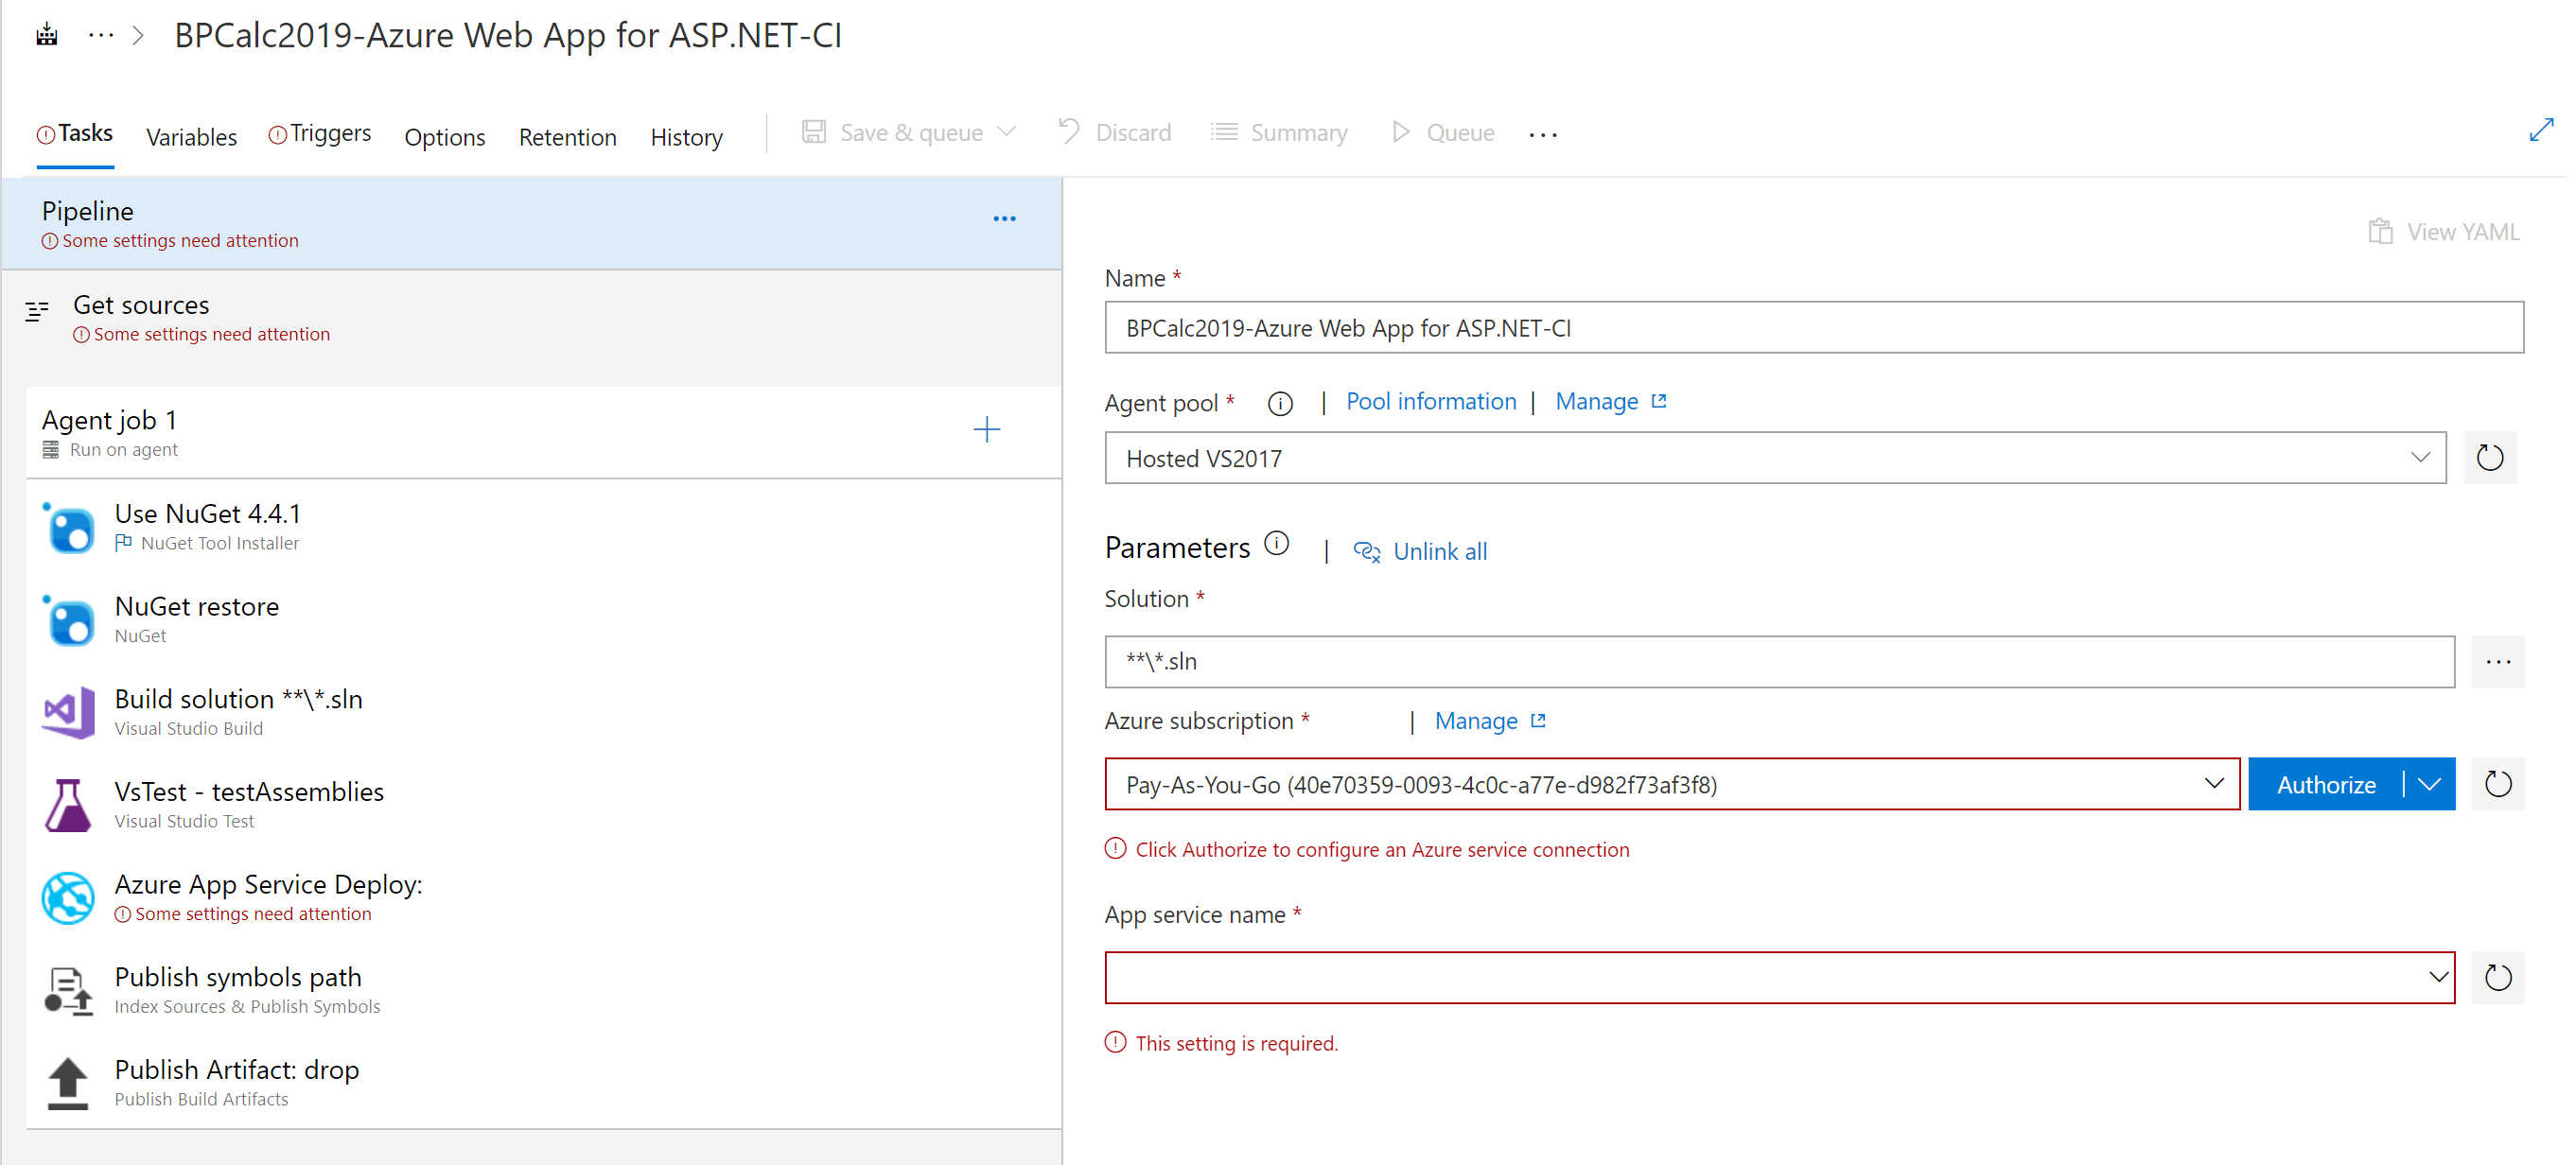
You can see that I’m asked to Authorise this pipeline against my Azure subscription, this will grant it some permissions to publish to Azure like we did previously with Visual Studio. It is all wired together for you quite nicely, point and click friendly.
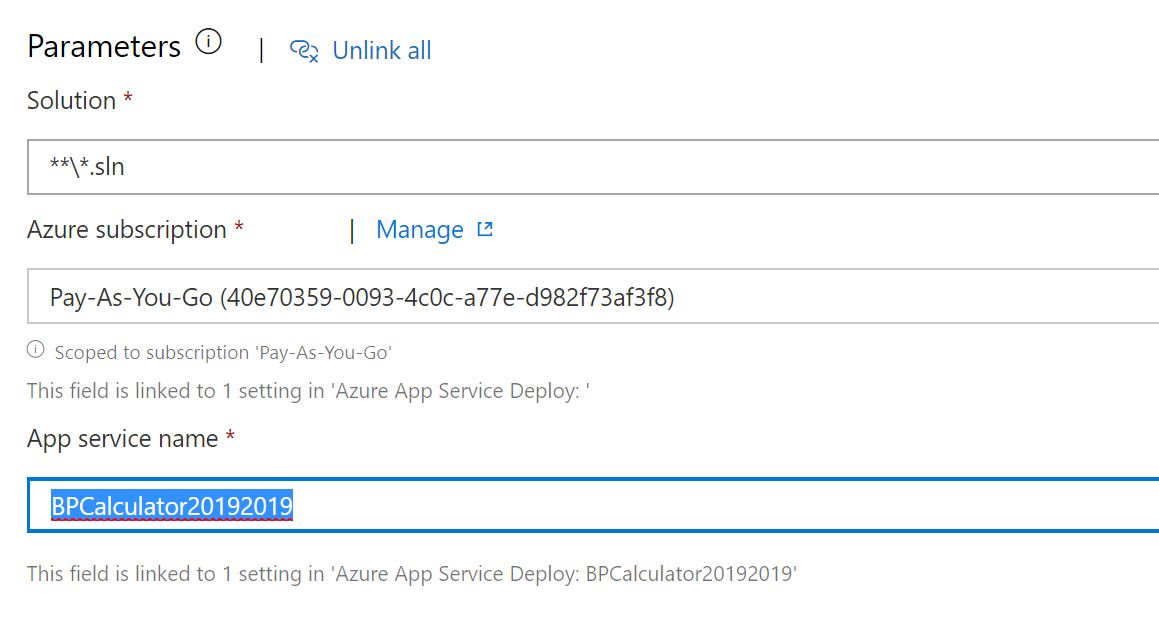
Once connected to my Azure subscription, the pipeline can see the App service that we previously created (hit the refresh button if not showing).
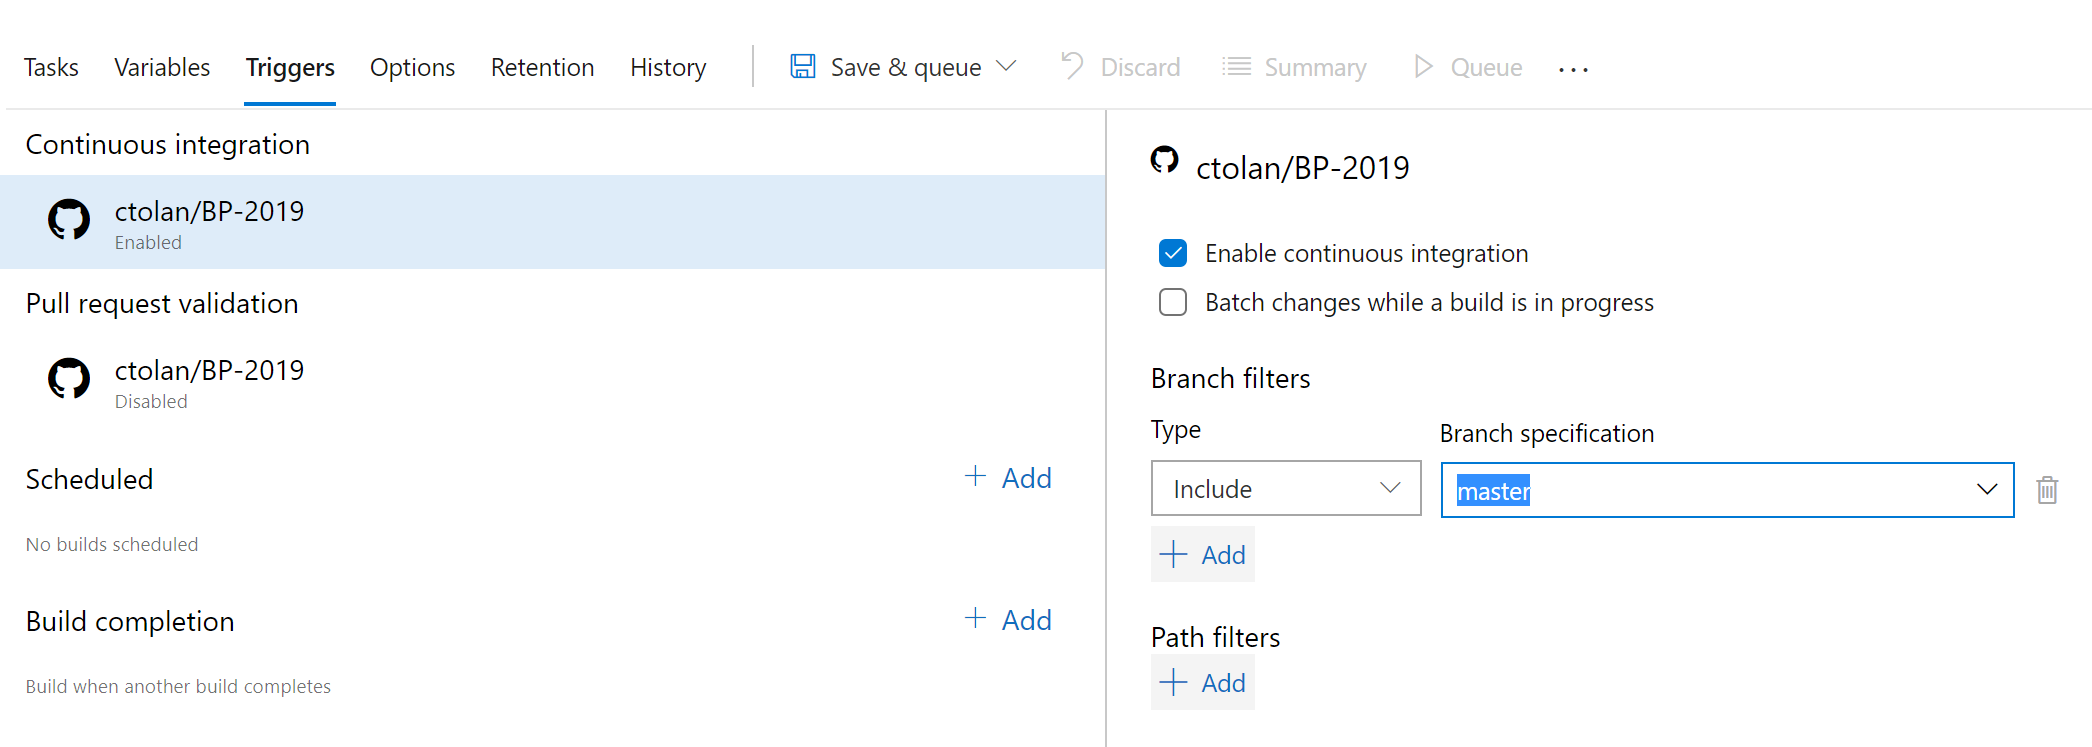
I was trying to Save and Queue my pipeline, but it was greyed out, this was because I needed to configure an additional parameter on the Triggers tab.
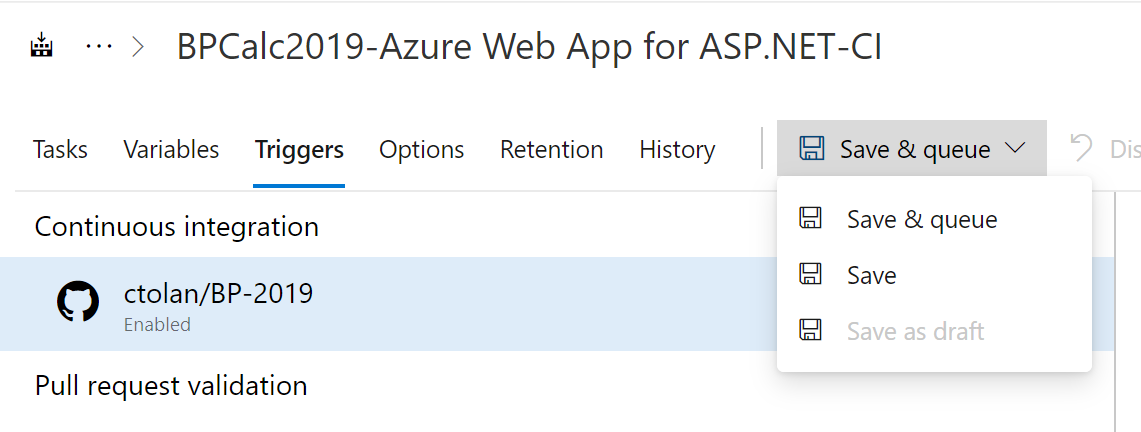
Once done I could save my build pipeline and run it if so desired. I haven’t been through all the settings in this template, but sure why not run it and see what happens, there is almost certainly more to configure. Queuing the build will give you a link to the job number, or you can click Pipelines - Builds from the left side menu.
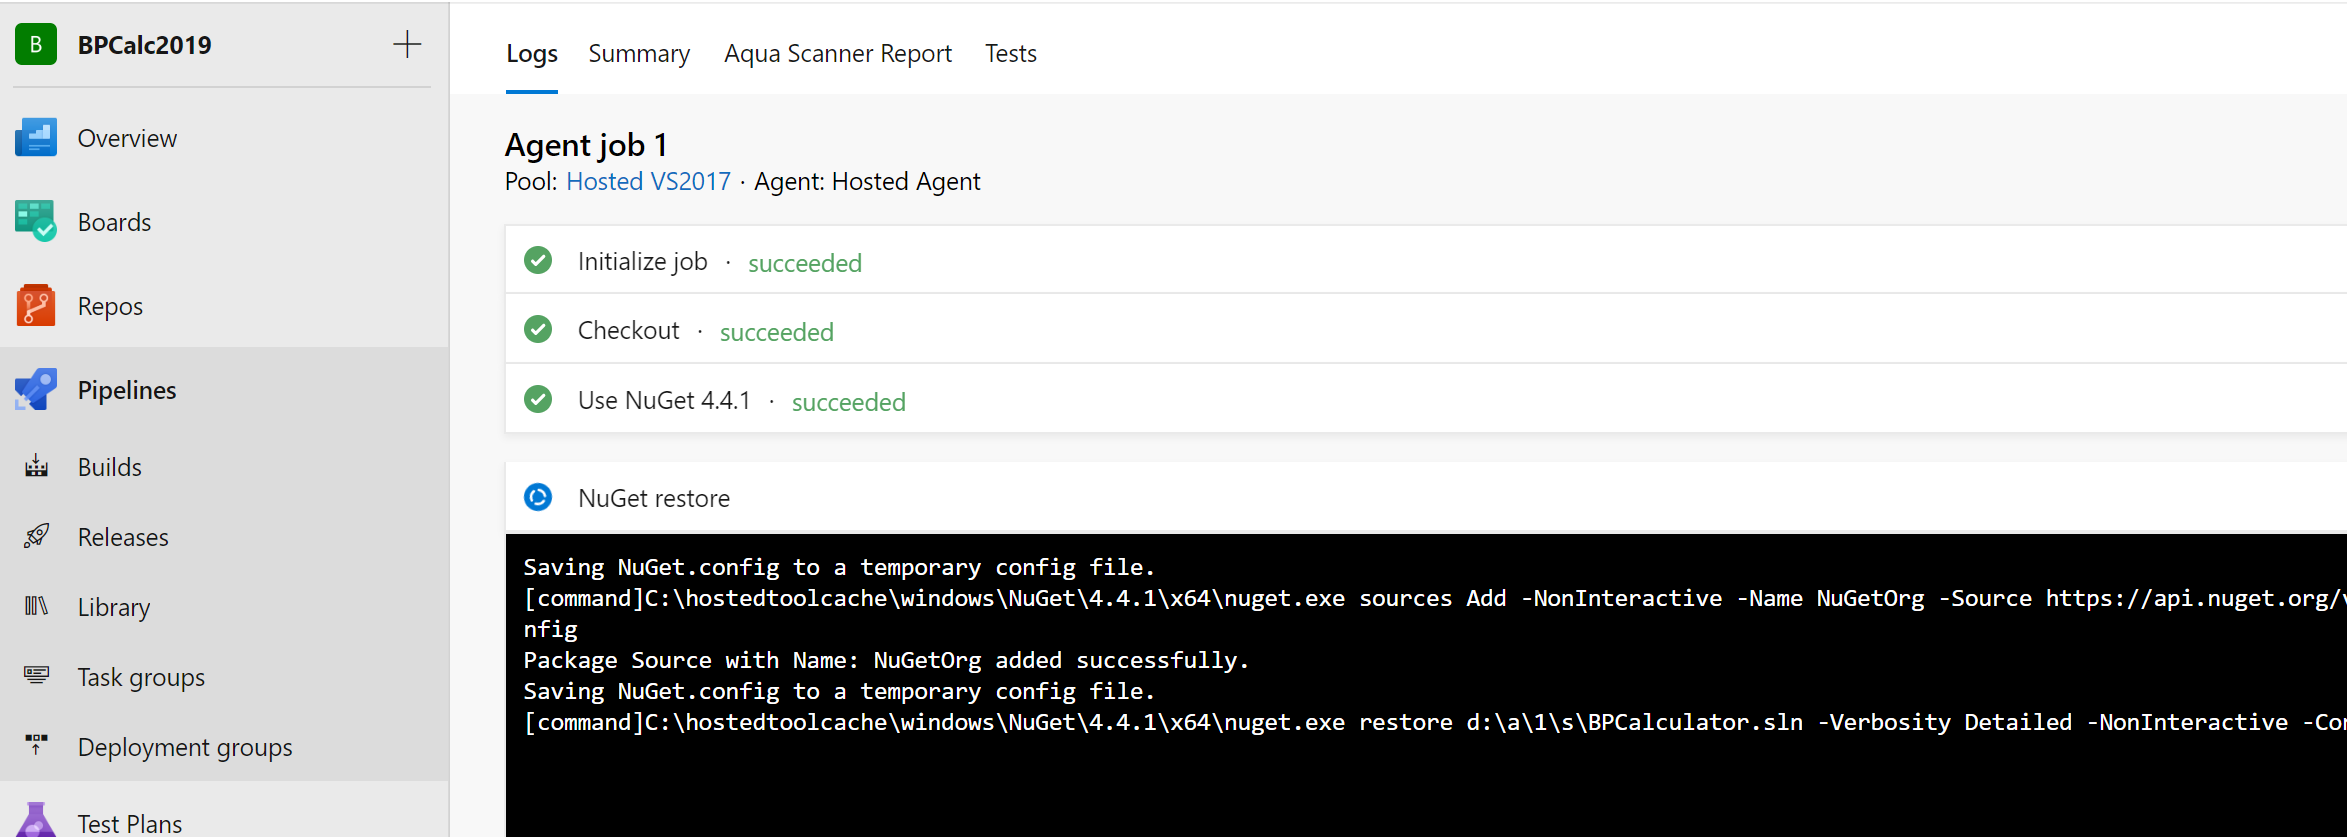
That’s the build running through the tasks in order, I’ll leave it here for tonight. I’m not sure if there will be errors in this build or not, and if there are I’ll want to take a longer look. If there are none then we’ll have reached a good place to take a break. If everything works out we still have a Release pipeline to create to publish to Azure, so more to come, not to mention looking at the .NET code and fixing the problems in the App.
P.S. It worked for me at least.
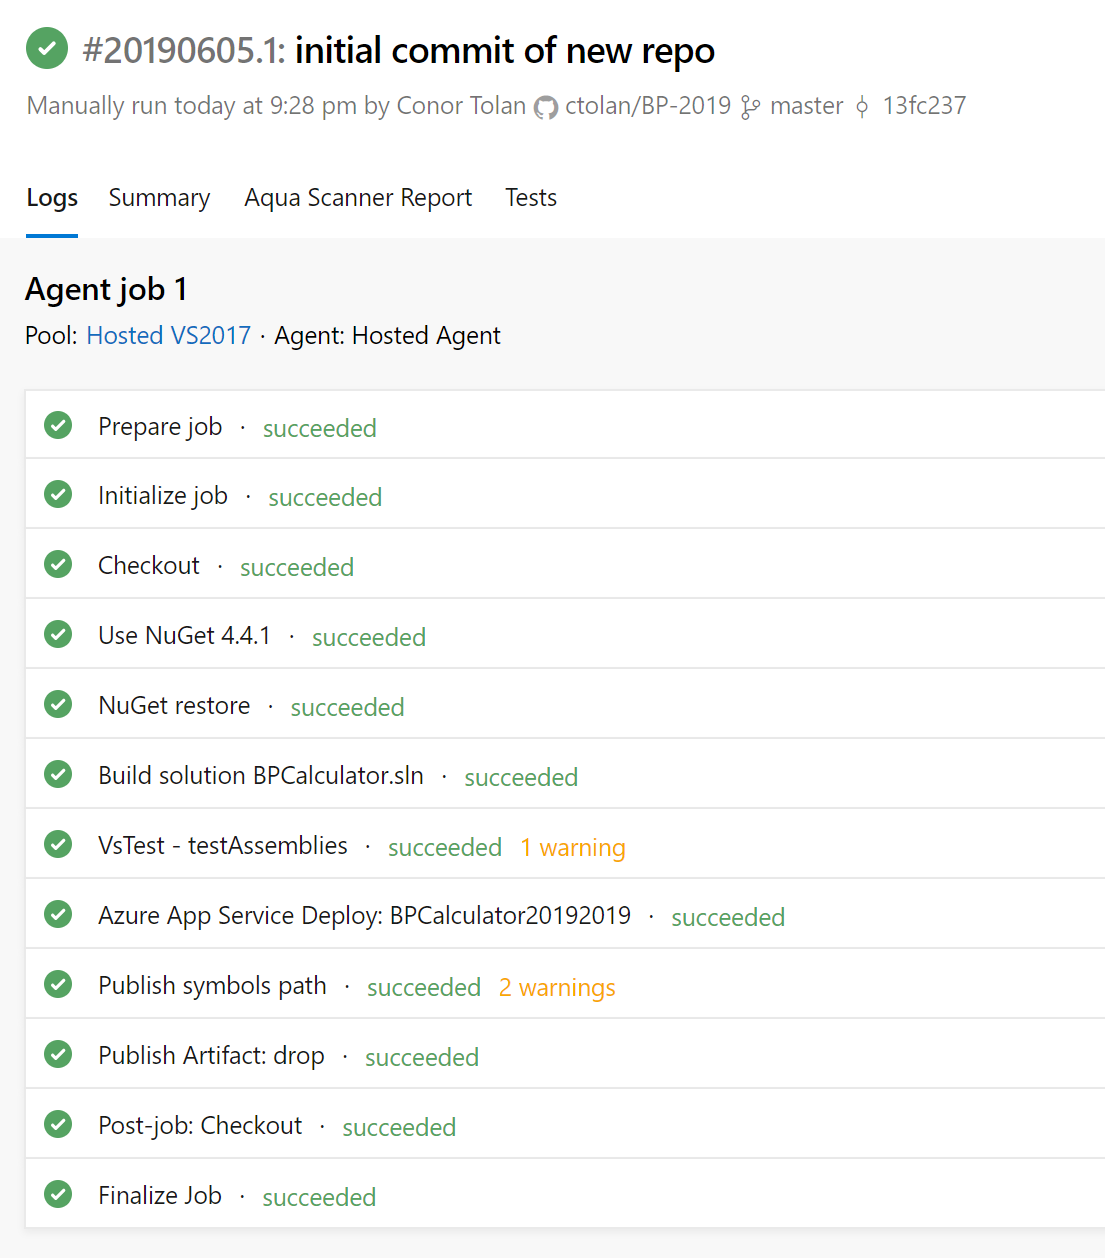
We’ll look at what that actually means next time.
Thanks for reading. Conor
Azure Pipelines BPApp