
Day 1: Azure Pipelines Project
Ok, so let’s start this project. Today we will get right into it, we’ll get setup with the starter app, our GitHub repo and open it up in our IDE Visual Studio. First get Visual Studio Community from Microsoft’s free resources page. Download and install it.
If you don’t have one yet register for a free GitHub account. When I initially did this project, I used Azure Repo’s but this time I want to use GitHub. Since this project is not about CI/CD and Azure Pipelines, not developing an app from scratch, there is an “almost complete” app to start from. Let’s clone/fork that into our repository now.
Got to https://github.com/ctolan/bp and Fork the project into your own account. I tried to fork the original project again, but it won’t let me since I’ve already done it. So, I’ll fudge it by using GIT to get a new copy of the base app in a new folder “BP-2019” (eek in hindsight I should not have mix and matched Git CMD with Git Bash it looks confusing.)
You should be able to use the “Fork” functionality without issue. It will copy the repository into your own account so that you will have you own copy of the code to do with as you wish without impacting anyone else’s copy.
*Sidebar - you probably dont need to do this.
I’ll create a new Git Repo and sync up what I just downloaded with the repo. To do this I unhide the .git folder and then deleted it (that removes any link to the other git repo), then I initialised the folder as a new git repo, added all the files, committed them and pushed up to the new remote location.
Note: I will work from the BP-2019 repo so I can push changes without impacting the orignal project.
$ git init
Initialized empty Git repository in C:/Code/BP-2019/.git/
$ git add ./*
$ git commit -m "initial commit of new repo"
$ git remote add origin https://github.com/ctolan/BP-2019.git
$ git push -u origin master
*/endSidebar
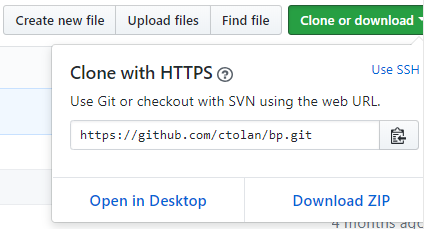
Ok so I have the repo with the starter application, next step is to open this in Visual Studio. In your repo click the “Clone or download button” this give you the URL to the repo.
Open Visual Studio – from the “File” menu select “Open from Source Control”. Oh wait look at this, it’s the first difference from using GitHub instead of Azure Repos. I thought I could connect “Team Explorer” with the repo since Microsoft bought GitHub, but not yet or I’m missing something.
*Go to here:
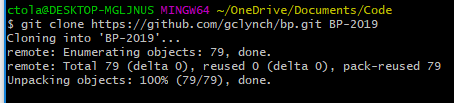
Anyway, you can still pull down the files with Git. Which I realise that I have not yet mentioned, you will want to download and install Git for your platform. Once installed, open Git-CMD if on Windows and decide/navigate to where you want to clone the project files.
C:\Code> git clone https://github.com/ctolan/bp.git
The above command will clone the GitHub project into a new folder named the same as the GitHub project. To put it into a different folder name you can put that at the end of the command.
C:\Code> git clone https://github.com/ctolan/bp.git Whatever-Folder
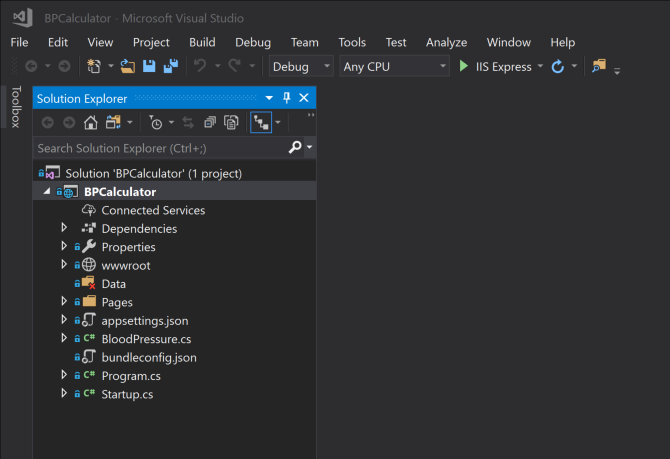
Back to Visual Studio after those detours. This time from the “Open” menu select “Open project/solution” (this project comes with solution (.sln) for Visual Studio to help get us started). So navigate to the location where you cloned the repository into and you will see a file called BPCalculator.sln, select it. Visual Studio will do its thing.
Hopefully you will get something that looks like this, I think i dragged the Solution Explorer to the left side purely as a personal preference.
You can launch the application in Local Development mode / Debug mode from the “Debug” drop down, the little green triangle that looks like a “Play” button or simply by pressing “F5”. But this project is incomplete/broken, if you launch it you will get the following error.
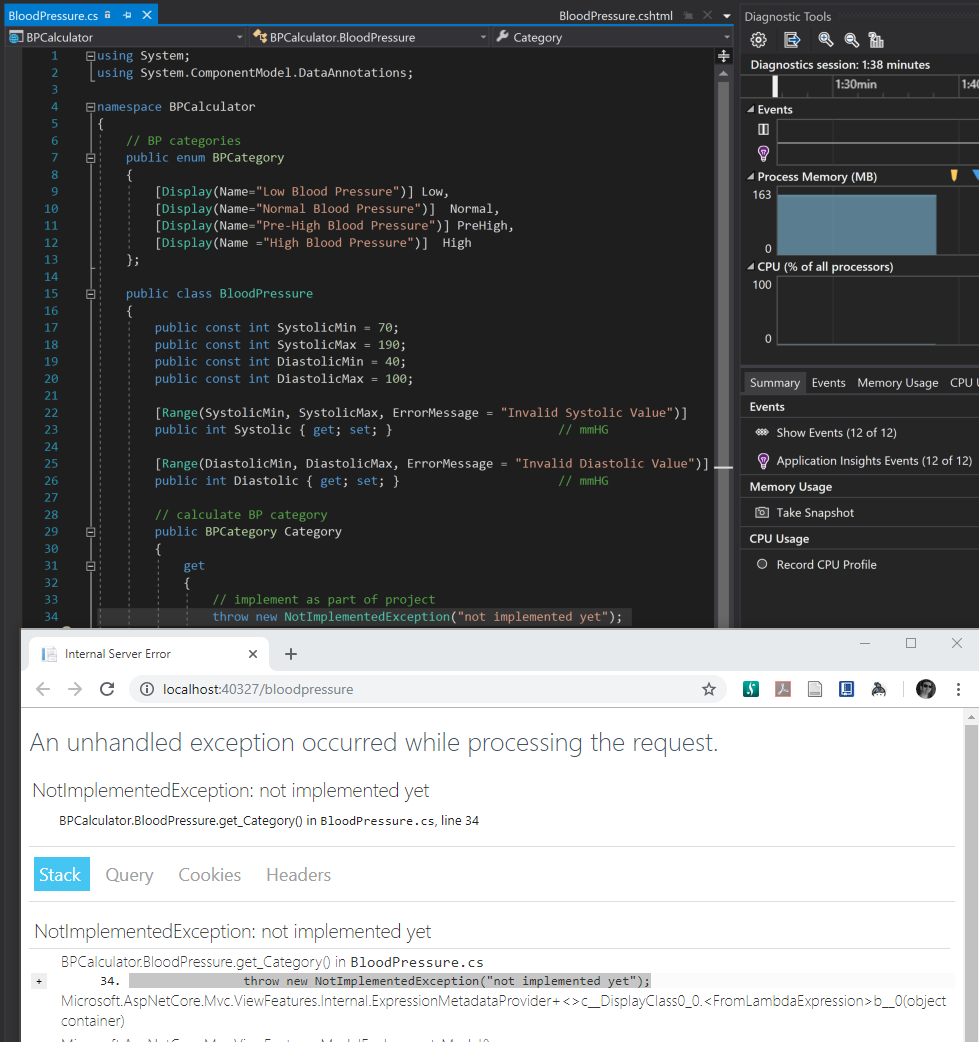
Look closely at the above screenshot and it is not too hard to see that error in the project code, it gives you the function “BPCalculator.BloodPressure.get_Category()” and the file “BloodPressure.cs”. Once there you see the comment saying to implement the project code as part of the project.
I don’t think it is giving too much away to say that if we want to try fix this error we could just hard code a response (for now). I’ll be honest this is the first thing I did as I explored the code base to see a) how badly broken the code base is and b) which code does what.
To do this delete of comment out the error and add the following on line 34.
return BPCategory.High;
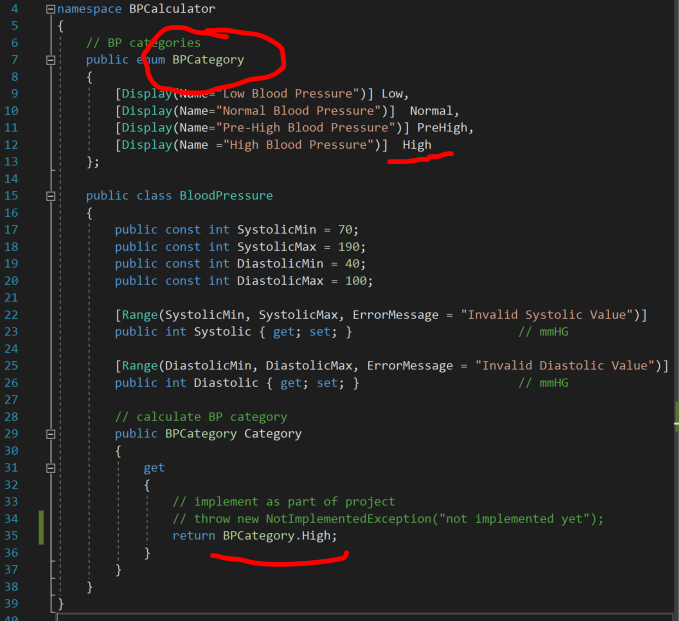
Here we can reasonably assume that the code is looking to return the Blood Pressure category, and up higher in the file we can see an enumeration (enum) of possible categories. So, I return one of those options without any calculation logic. If/when the get is called, the “high” category is returned.
So what happens when we launch the application now? Voila an app!
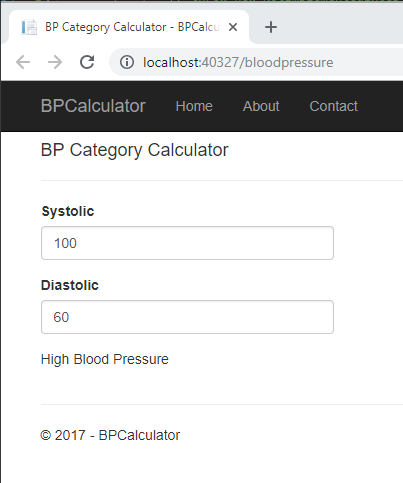
While this is not an app that actually does anything at this stage but it launched, I was pretty happy the first time I got to this point. So I’ll leave it there for this blog post and come back shortly with next steps. The question is do you want to write application code next or publish to Azure. I guess with the power of the internet we can make this a create your own adventure story and leave it up to you which link you follow next.
Link to Day 2 publish the project to Azure
Thanks for reading. Conor
Azure Pipelines BPApp